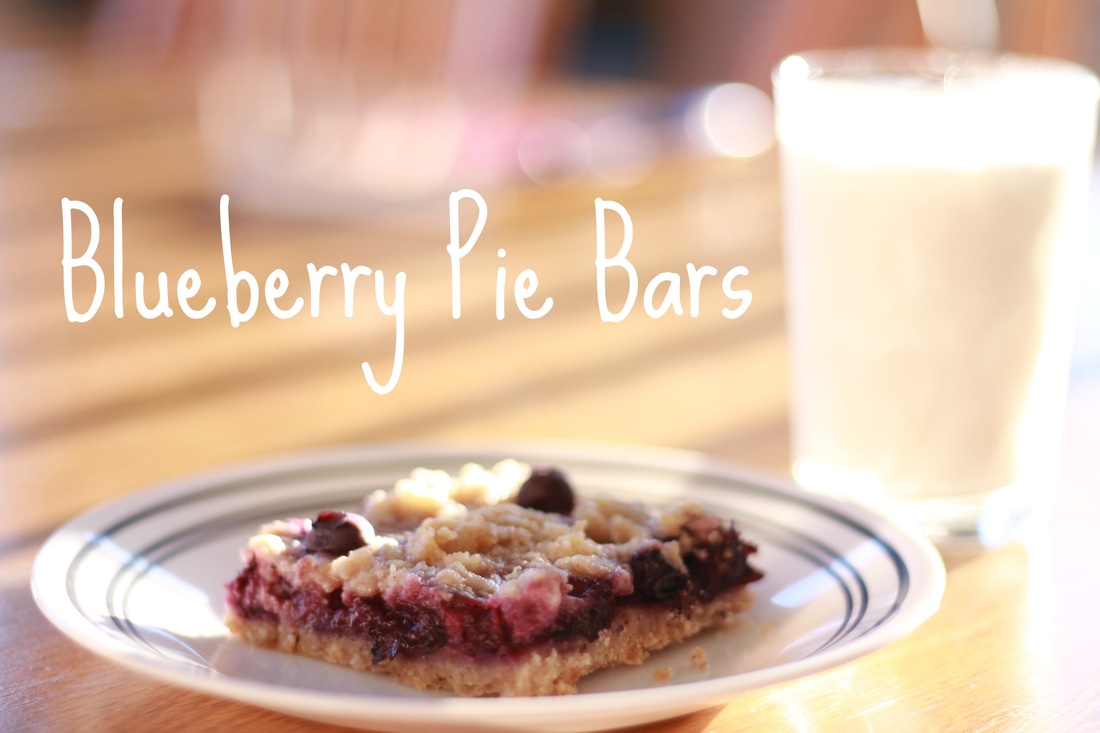
 Blueberry Pie Bars.Hey, everyone! Welcome to my first official food blog post. I've always seen those people on Pinterest have their little recipe articles, so I decided to make my own! Disclaimer: Unfortunately, I have never made up a recipe in my life. I had to use a Food Network one. However the pictures are all mine. Blueberry pie is the best. I love it so much I can't even explain it. But what if I told you there was something small and chewy you could throw in your lunchbox or eat in the car on the way to school - that tasted just like pie?! Or better! I am telling you. Here it is. 1. Set the oven to 350 degrees. Fahrenheit.  2. Spray the pan.
3. Line the pan with parchment paper then spray again. Now Let's Make the Crust1/2 cup unsalted butter, chilled. 3/4 cup sugar. 1 1/2 cups all-purpose flour. 1/2 teaspoon ground cinnamon. 1 pinch of salt. (not sure if mine was a pinch or not. What is a pinch, anyway?)  4. Now let's combine them. This is the fun part! 5. VERY IMPORTANT STEP: Remove 3/4 cup from the mixture. Save it for later! It will be very useful.
6. Press the rest of the crust into the baking pan. I used a spatula to squish it down. It was quite fun!  Now Let's Make The Filling1 egg. 1/2 heaping cup sour cream. Yes, heaping. 1/3 cup sugar. 1 tablespoon all-purpose flour. 4 teaspoons cornstarch. 2 teaspoons vanilla extract (I just guessed) 1/2 teaspoon ground cinnamon (I guessed on this one too. We were almost out anyway so I just finished it up.) 2 cups blueberries (I have no idea if this is two cups.) And optional: 2 tablespoons lemon juice (I couldn't find any)  7. Now wash your blueberries and set them aside. Oh they look gorgeous, don't they? Sniff sniff.  8. Now combine all the other stuff together! Man, I'm having a blast here!  I had Karina help me with this. 9. NOW we get to mix in HALF the blueberries! Karina was so excited!  Aw...her little hand. 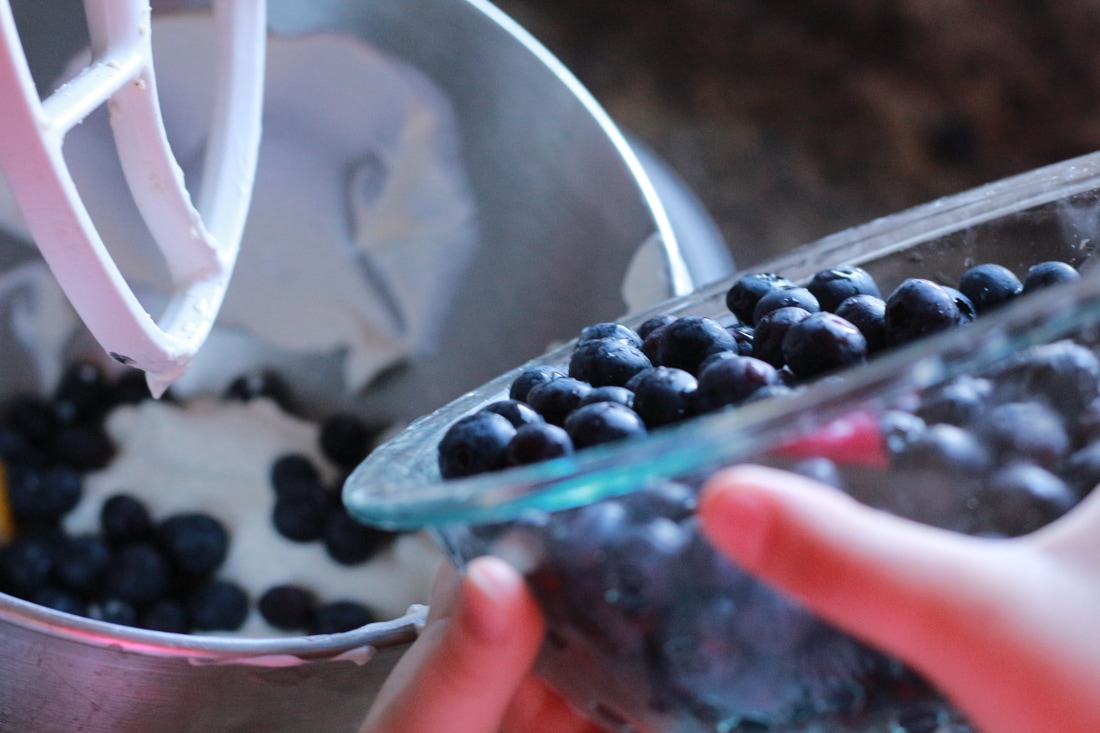 10. Let's mix it all together now!  Yes, I put in too many blueberries. I forgot the half part. 11. Now pour the filling on the crust. 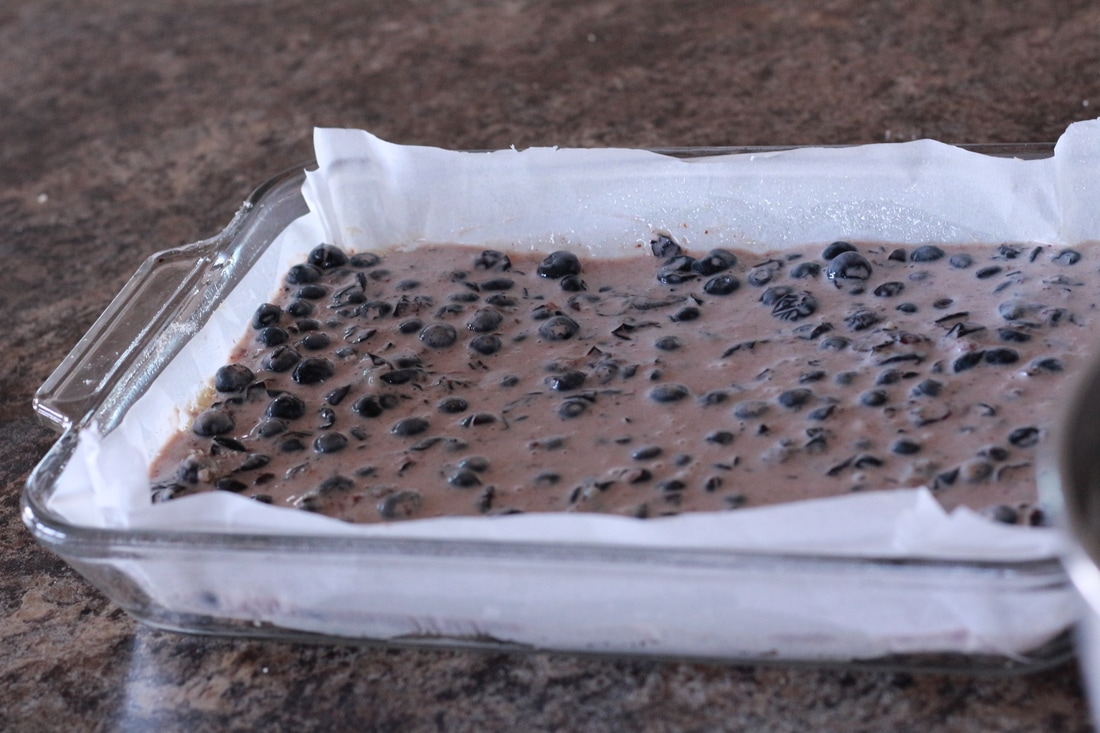 Yeah, I guess I mixed the blueberries too much. They shredded apart. 12. Remember that extra reserved crust mixture?! Well, you can use it now. Slap it on there but make sure to squish it first to make it lumpy! 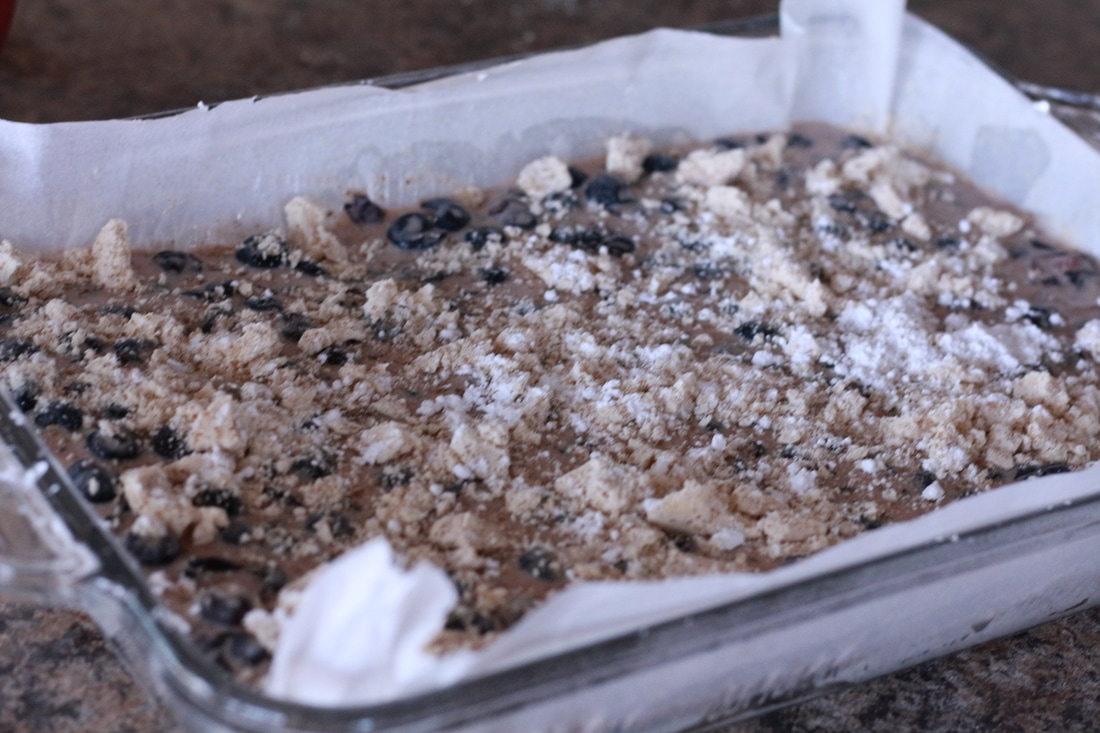 I also put powdered sugar on there for effect, but it didn't do anything. 13. Put the rest of the blueberries on top. 14. And now, it's time to put it in the oven! Yay! 15. Set the timer for one hour. I know, it's a long time to wait. 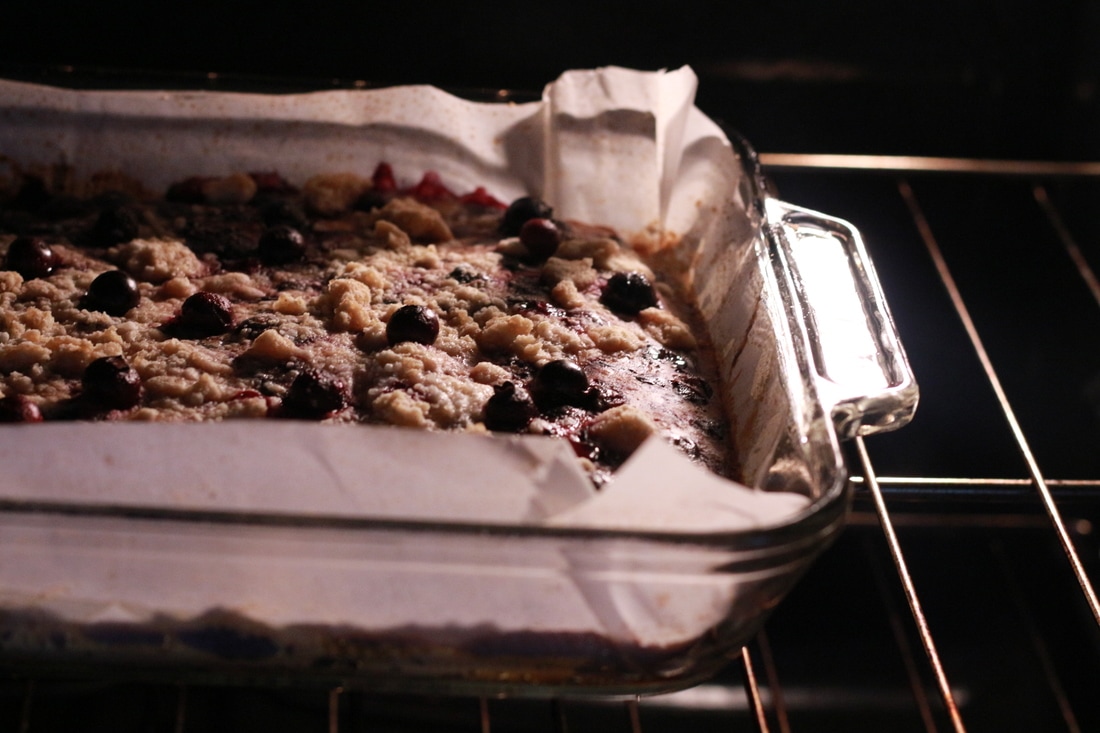 It looks simply beautiful. 16. After one hour, it's time to take it out of the oven! Be careful, it's hot. 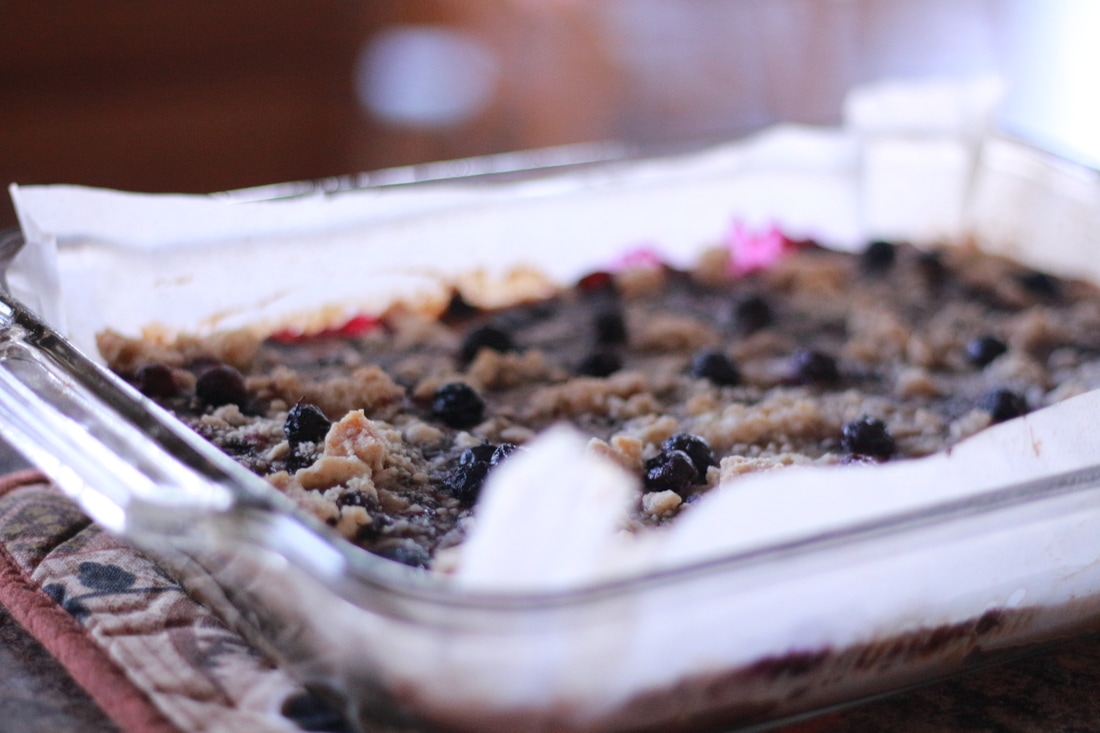 Absolutely amazing.  17. Warning: don't let your sister steal it. Watch over it very carefully while it cools. 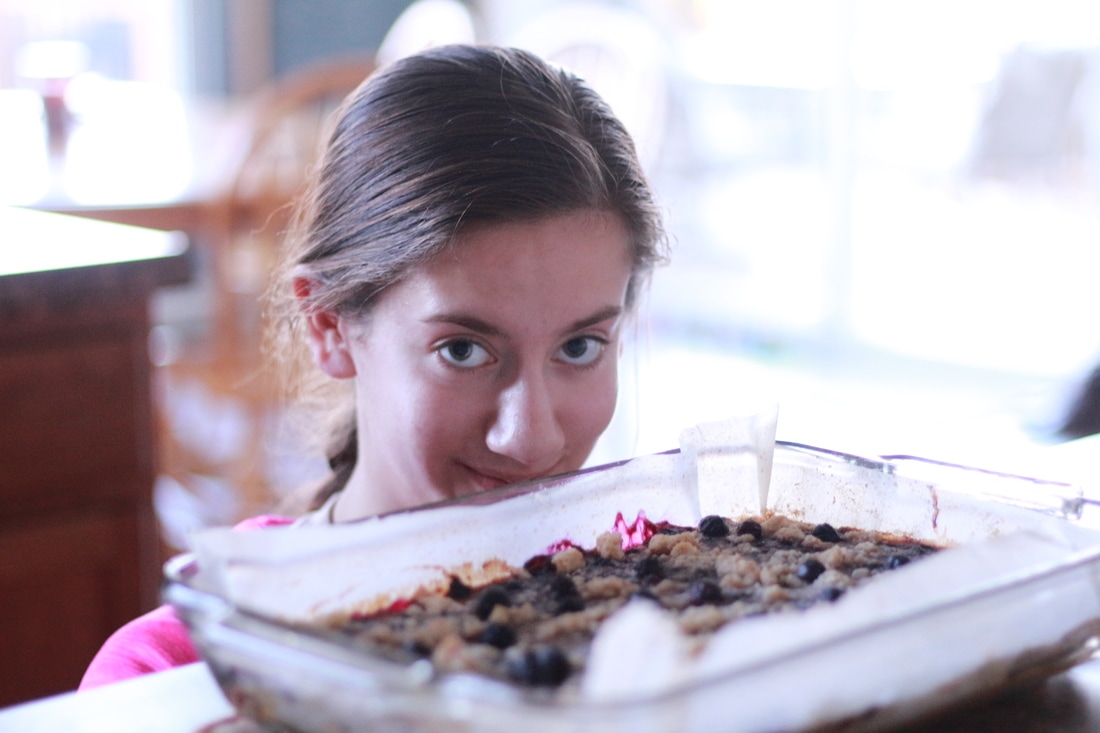  18. Now here comes the best part! Slice it up and enjoy. 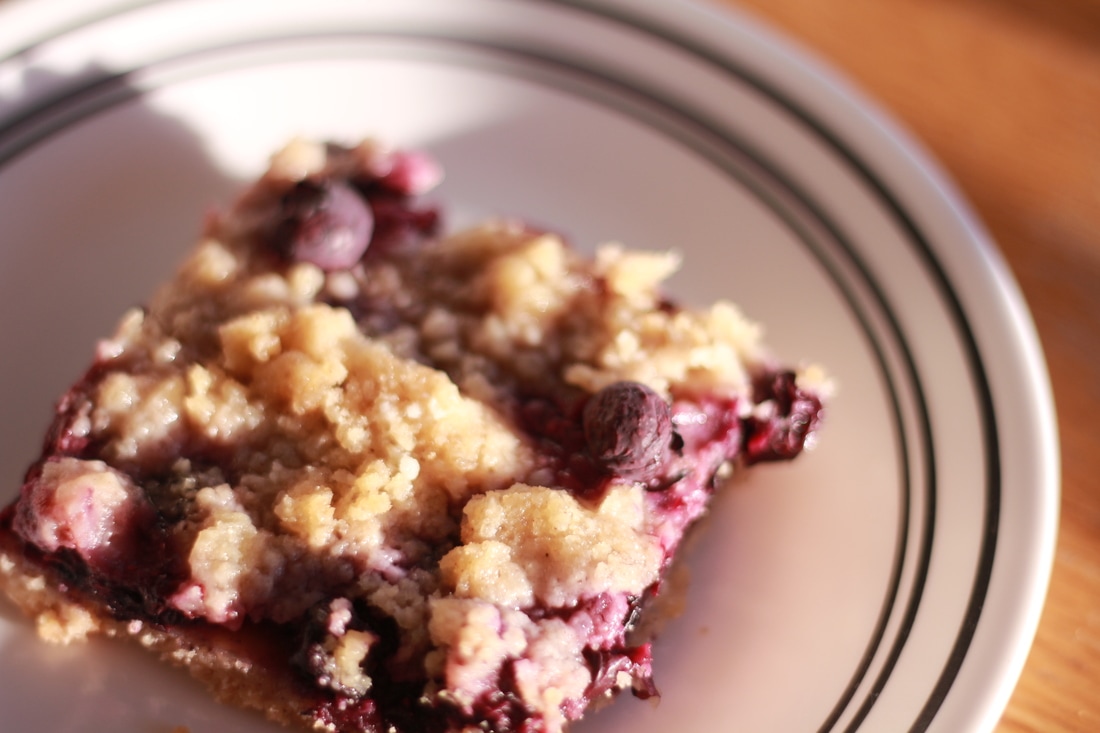 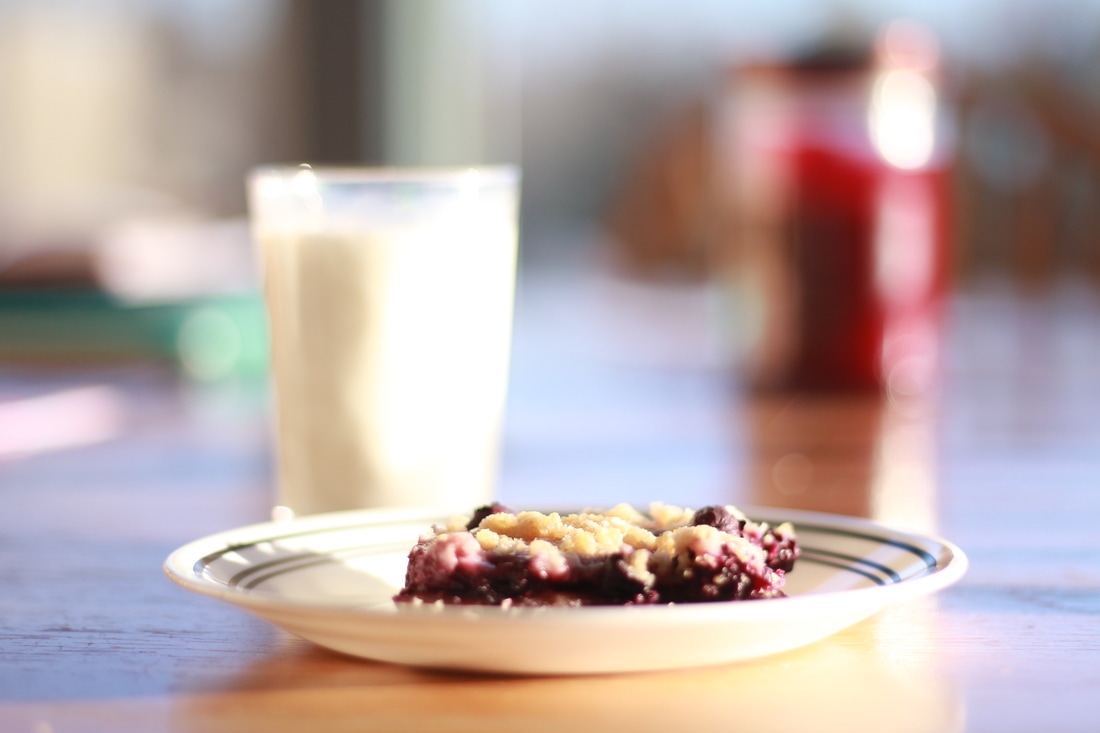 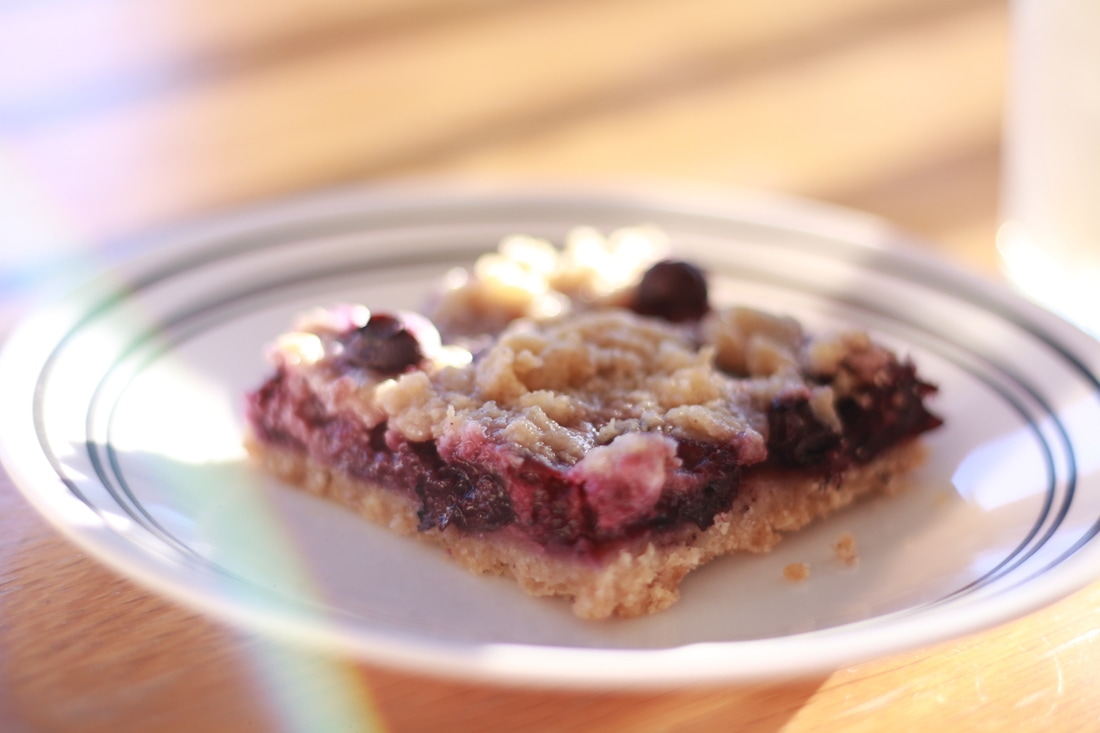 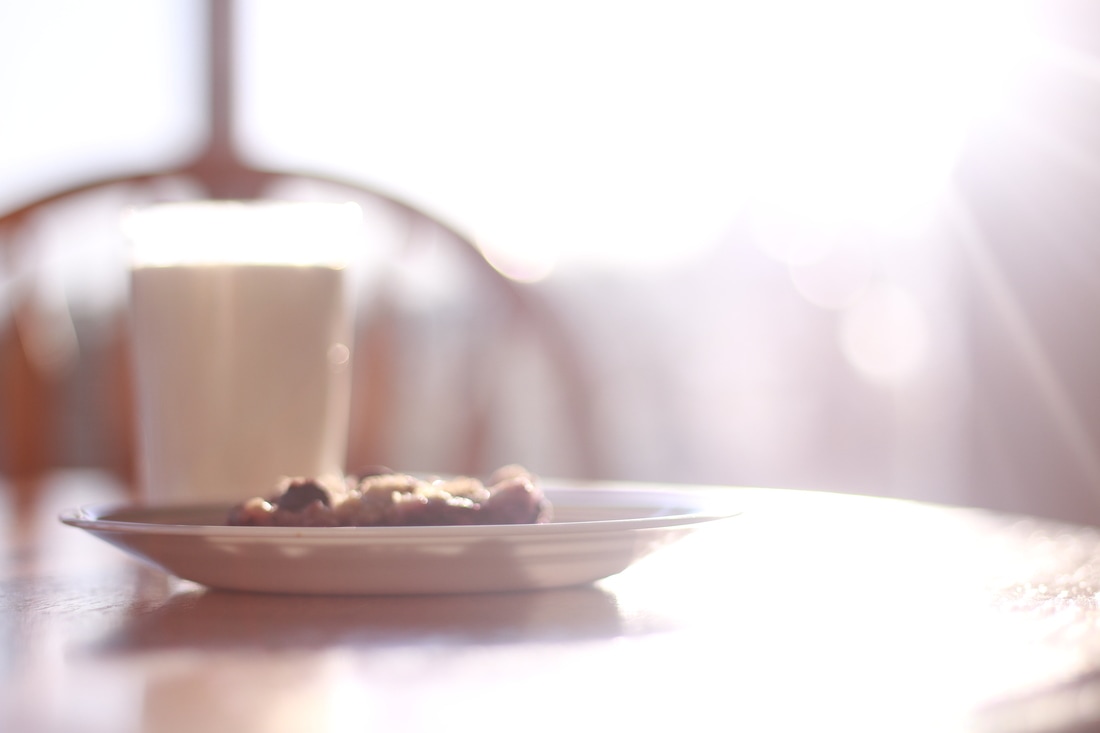 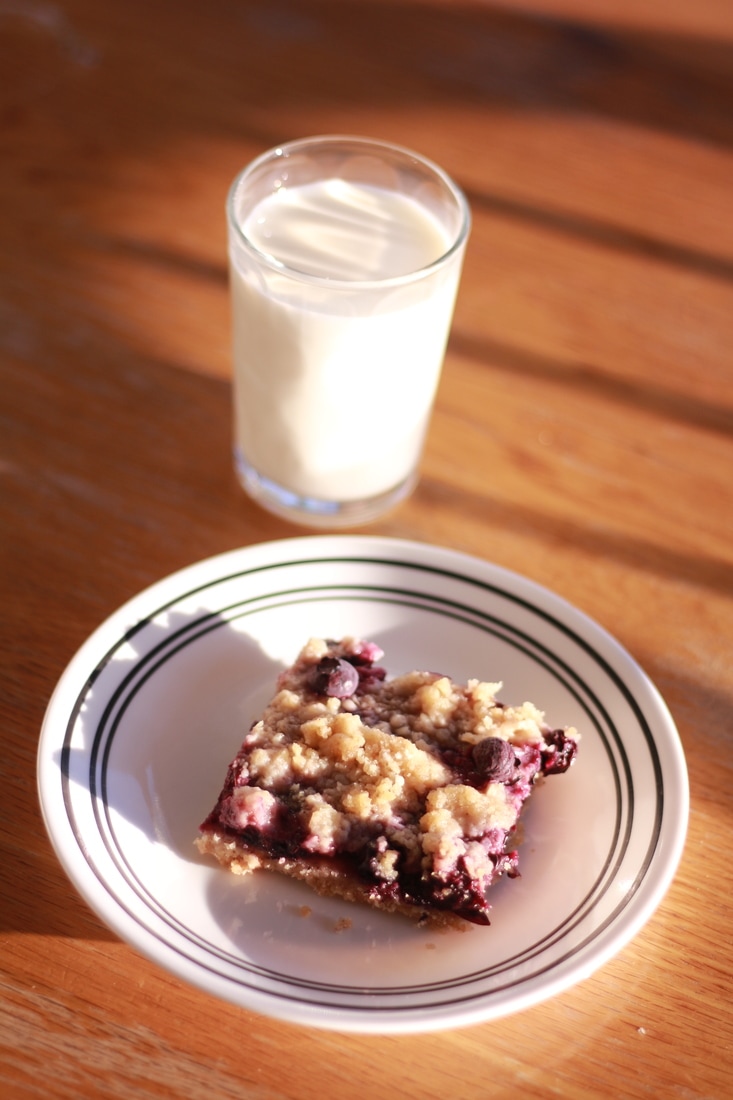  This recipe is so delicious, and I'm so obsessed.
If you try it, please leave a comment down below. Also I wouldn't mind if you pinned it on Pinterest. ;) The real recipe can be found here. Thanks for reading! I'll be back soon. Signing off, Your crazy blogger person.
0 Comments
Leave a Reply. |
about the authorAs a 21 year old aspiring teacher, Karissa loves to write, travel, play piano, and read. Many creative things have her heart. archives
November 2021
latest video: |


 RSS Feed
